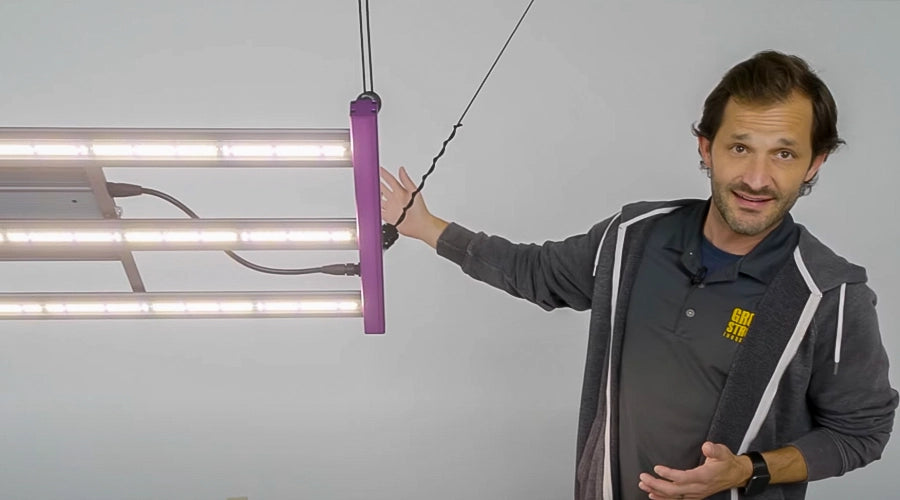
How to Hang LED Lights
Is It Difficult to Assemble Led Lights?
It depends on the type of LED lights and the complexity of the assembly. Some LED lights can be very simple to assemble, such as strip lights that come with adhesive tape and can be easily attached to a surface. Other LED lights, such as those that require wiring and soldering, can be more difficult to assemble and may require technical skills and tools. However, detailed instructions and tutorials are often provided with LED lights to help make the assembly process as easy as possible.
Assembling LED lights typically requires the following steps:
Planning the layout of the lights and the wiring
Measuring and cutting the LED strips to the desired length
Connecting the power supply to the LED strips
Attaching the LED strips to the surface
Testing the lights to ensure they are working properly
It is important to follow the instructions and safety precautions provided with the LED lights to avoid damage to the lights or the power supply and to ensure proper installation. In some cases, electrical knowledge may be required, especially when installing larger LED lighting systems or when connecting the lights to a home’s electrical system. However, with proper preparation and careful attention to the instructions, most people can successfully assemble LED lights.

How to Hang LED Lights
Hanging LED lights is a simple process that can be done in a few steps.
Gather tools and materials
Before you start, you will need the following materials: LED lights, power source, mounting hardware, screws, wire nuts, and electrical tape.
Plan your layout
Plan the placement of your LED lights, and make sure they are evenly spaced. Take into consideration the wiring that will need to be hidden, as well as the location of the power source.
Mount the lights
Using the screws and mounting hardware, attach the LED lights to the desired surface. Make sure they are securely fastened and level.
Connect the wiring
Attach the wiring from the lights to the power source using wire nuts and electrical tape. Be sure to follow local electrical codes, and if necessary, have a licensed electrician check your work.
Test the lights
Once the wiring is connected, turn on the power source and test the LED lights to make sure they are working properly.
Finish
Use wire nuts and electrical tape to hide any visible wiring, making sure all connections are secure.
By following these steps, you can ensure that your LED lights are installed safely and securely, and that they provide optimal performance. Keep in mind that while this process is relatively straightforward, working with electrical wiring can be dangerous, so be sure to take all necessary safety precautions.
Things to Consider When Hanging LED Lights
Power source
It's important to choose the right power source for your LED lights. LED lights typically require a low voltage power source, such as a transformer, to regulate the voltage and prevent damage to the lights. When selecting a power source, make sure it has enough capacity to handle the total wattage of all your LED lights.
Dimmer switches
If you want to have more control over the brightness of your LED lights, you can use a dimmer switch. However, not all LED lights are compatible with dimmer switches, so be sure to check the specifications of your lights before purchasing a dimmer switch.
Maintenance
LED lights are long-lasting and require very little maintenance, but it's important to periodically check the wiring connections to ensure they are secure. You can also clean the lights as needed with a soft, dry cloth.
Safety
Always make sure to turn off the power source before working on the wiring or installing the lights. It's also important to follow local electrical codes and have a licensed electrician check your work if necessary.


